AMIGURUMI MARIO KART - THE PIRANHA PLANT
- chlo
- Jan 30
- 3 min read
We avoid it, we move away from the sides of the road on MARIO KART not to be devoured by the piranha plant... and yet, we want to have a little one in our living room, don't we?

DIY : THE PIRANHA PLANT
PART 1 : WHAT YOU'LL need
Here is the list of items you will need to make the piranha plant:
A size 3.5 mm crochet hook
Stitch counters
Scissors
A small wool needle
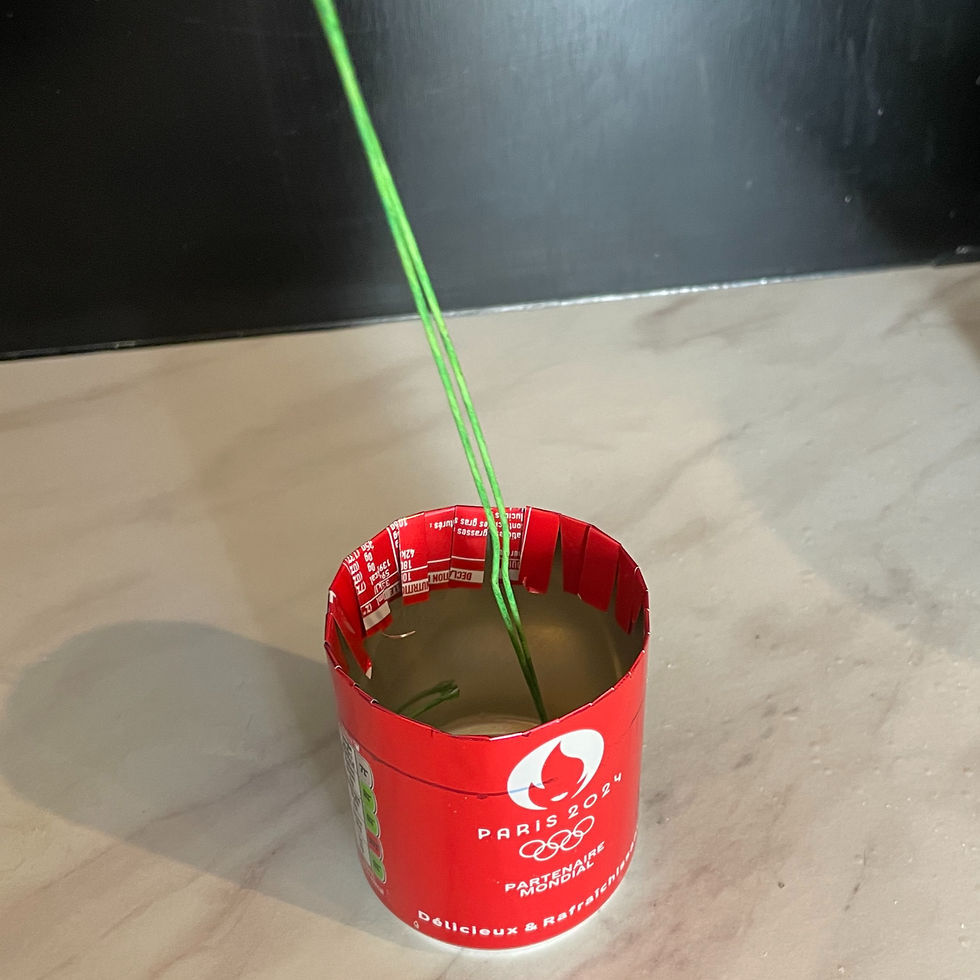
A medium-sized, cylindrical pot (cardboard, plastic, metal... whatever you have on hand, personally I used a soda can that I cut to the desired size.)
Something to fill the pot with, here I used paraffin
Wire
Yarn (I chose RICORUMI, colors: red 028, pink 011, green 047, white 001, black 060 and brown 057)
Cellulose wadding
The pattern that you can get via my Etsy shop
part 2 : details
step 1 : the head
First, we will make the head of the plant.
To do this, we will use the red wool to go around the head, as explained on the pattern.
Then we will make small white circles, which we come to sew all around the head.
Finally, we make two arcs of circle in black for the mouth, we come to slide the tongue between the two, and finally we assemble the two circles thanks to the white wool which will create the lips of the plant.

step 2 : the pot
Next, we will create the pot.
To do this, we will start by preparing the structure of the pot.
First, we melt the paraffin, then we pour it up to 3/4 of the pot, and we plant the wire there, holding it until the paraffin dries completely. There you have it, the structure is done!
We can now start the crochet "pot cover".
To do this, crochet in brown in a spiral until you obtain a circle the size of the section of the chosen pot. Then change the color to green and continue to crochet in a spiral without increasing or decreasing in order to make the sides of the pot.
Finally, when you reach the height of the pot, you still crochet in a spiral but this time with decreases in order to completely encompass the pot. It is not necessary to completely close the final circle, only a few rows are enough to hold the crochet "pot cover" around the pot.
To finish and create a real "flower pot" effect, place your hook at the junction between the brown and the green, and make about 8 rows again in a spiral, without increasing or decreasing, then sew this element along the 8th green row, which creates the extra thickness on the upper part of the pot.

step 3 : the steam and leaf
Now that the head and the pot are made, we still have to make the stem as well as the leaf(ves), depending on your preference. Personally, I chose to make two leaves.
To make a leaf, we use green wool and we follow the pattern, quite simply!
Then for the stem, we come to make in green a magic circle with 6 stitches, and we crochet in a spiral along these 6 stitches until we obtain the length of the metal stem.

step 4 : assembly
And there you have it! Now that all the parts of the plant are finished, all that's left is to assemble the head with the rest and we have a great plant that will be a hit in your living room!


Comments